Hi everyone!
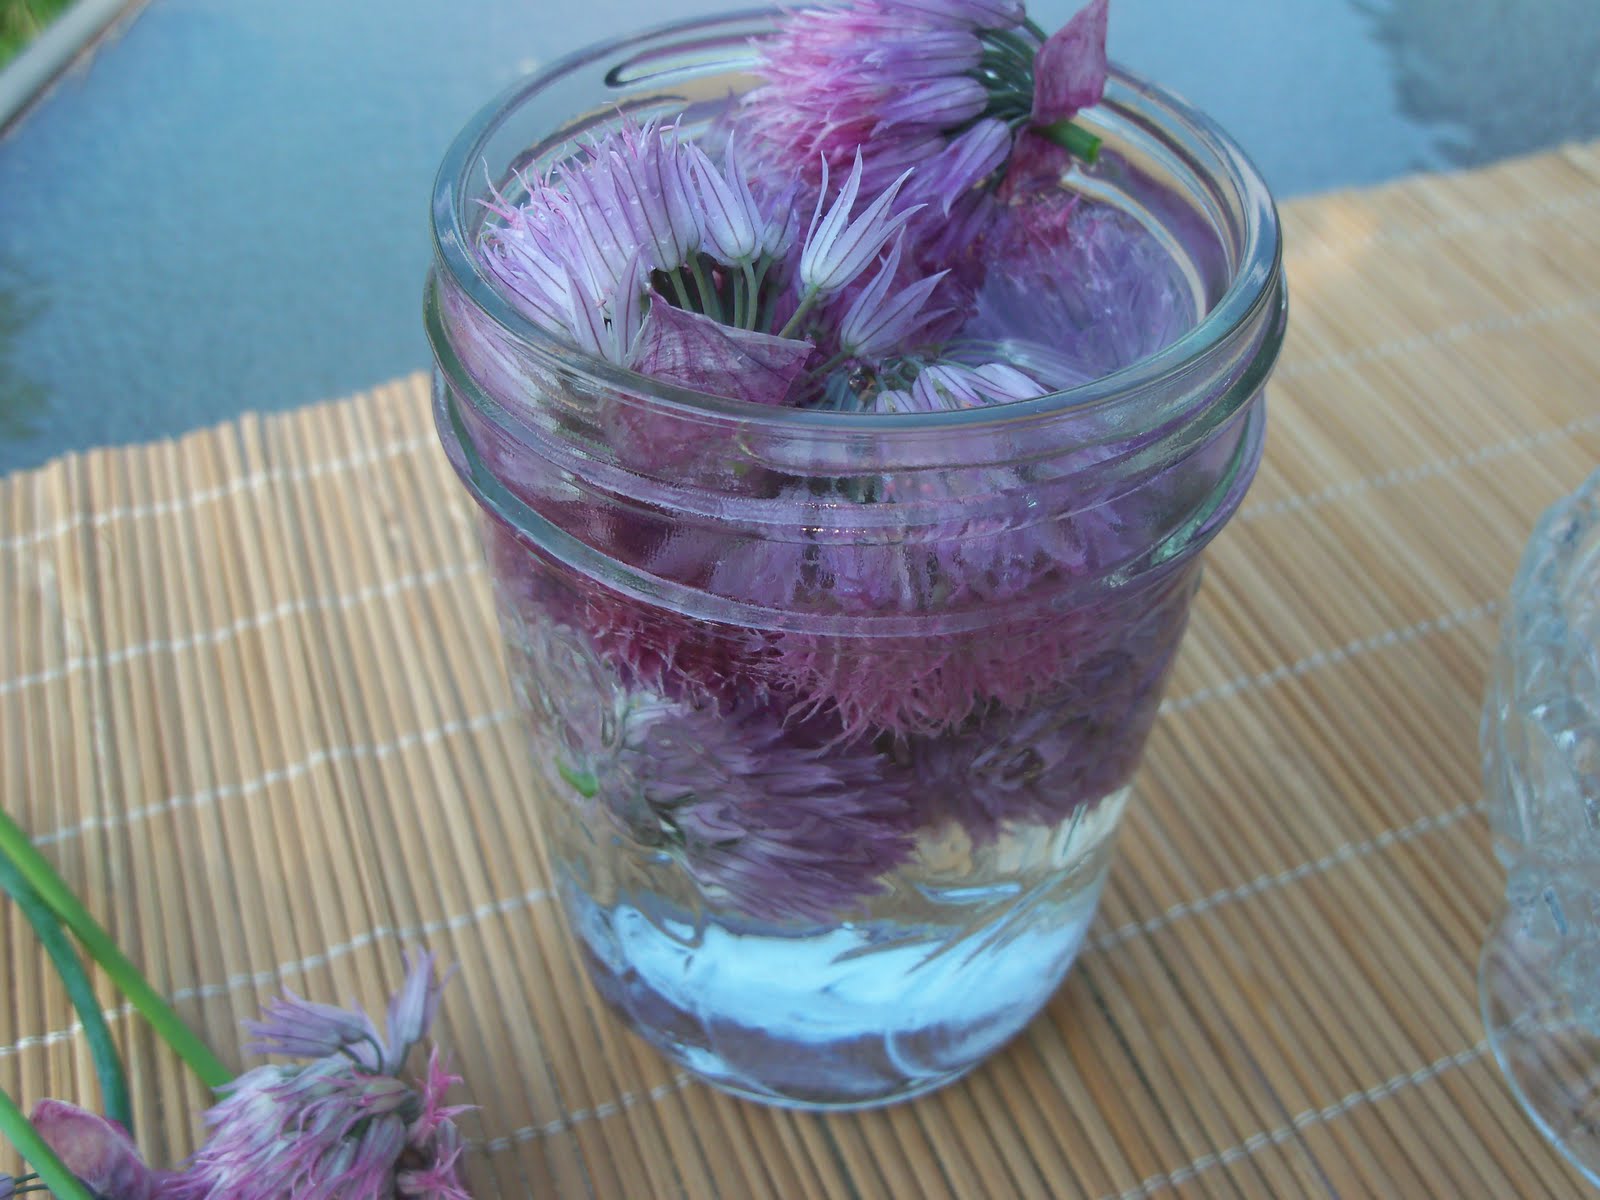
Well, it seems that a lot of folks out there are not familiar with cooking with chive blossoms/flowers. I have never really thought about it because I use them all the time. so, I thought I would show you an example of a dish I just made with chive blossoms.
If you are not familiar with the taste of chive blossoms, let me tell you what they taste like. They are a very mild, delicate sweet onion taste. Not as intense as the chive stalks or green onions. The blossoms are wonderful when you want a very subtle onion flavor in your dish and you don’t want chunks or pieces of onion.
So, whenever you want a slight taste of onion to a dish, use the chive blossom. You can use the entire blossom head just as it is or as I prefer, I cut of all the actual flowers. Just chop them off at the base of the flower.
 The chive blossoms are fantastic in scrambled eggs or omelets. Just thought I would throw that in. LOL
This is another “Diann is cleaning out the fridge so, let’s see what happens” recipes.
I don’t know about you but, certain dishes that I make, I also will make extra to freeze. Lasagna is a very good example with me. I never make just one lasagna for dinner. If I am going to all the trouble to make a lasagna it’s just as easy to make 3 and only cook one that night and freeze the other two. For me, that works. Especially now that we are in summer. Life is just too busy. I always want to have something quick to make. Well, I do several things that are make ahead and freeze dishes. One of those is stuffed pasta. Make up a bunch then divide them into individual meal portions and freeze.
So, that is what I started with. Cheese stuffed pasta. This is super easy. Use large shells, lasagna noodles or make your own wide noodles. My cheese stuffing is just ricotta, garlic powder, some parmesan cheese and sometime chopped chives if they are in season. Just mix that all together and either stuff the shells or roll the wide noodles. These are so handy to have on hand. I don’t season them up a lot because I like to create different dishes with them. I want them as the foundation of my meal.
To get this dish started, preheat oven to 425 degrees.
Stuffed noodles go right from freezer to a baking dish. And set aside for the moment.
 Next I sliced cherry tomatoes in half and tossed some in another baking dish with 2 tablespoons of olive oil, 1/4 teaspoon on garlic powder and a healthy dose of black pepper. Stir them until all the tomatoes are covered in oil.
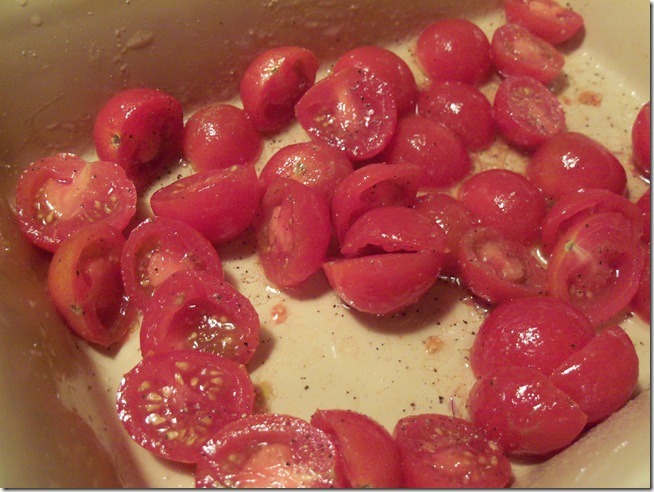 Pop these into the 425 preheated oven for about 10 minutes (uncovered). When you remove from oven, drop the heat down to 350 degrees.
 The other night we grilled Italian sausages for dinner. It was a good size package so, we cooked it all so we could have some left over for another meal or two. One more step to help you with time and ease of cooking. After all, when the grill is hot, why not take advantage of it and cook a bunch of meats to be used at a later day. I always have ziplock bags of grilled meats in the freezer.
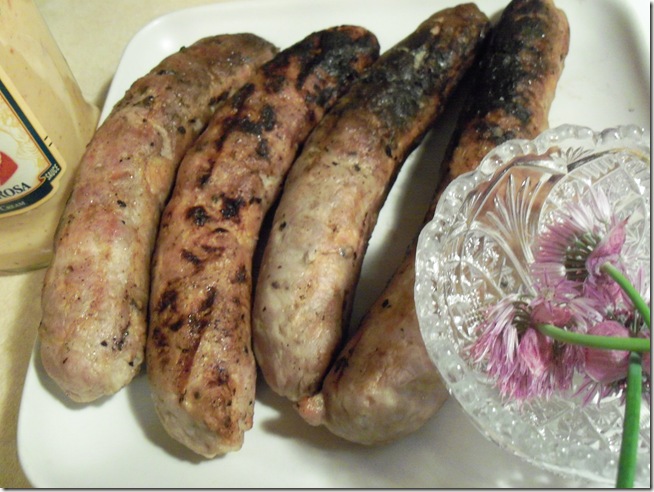 I used 3 of the sausages and put them in the food processor to grind them down.
Into a skillet they went.
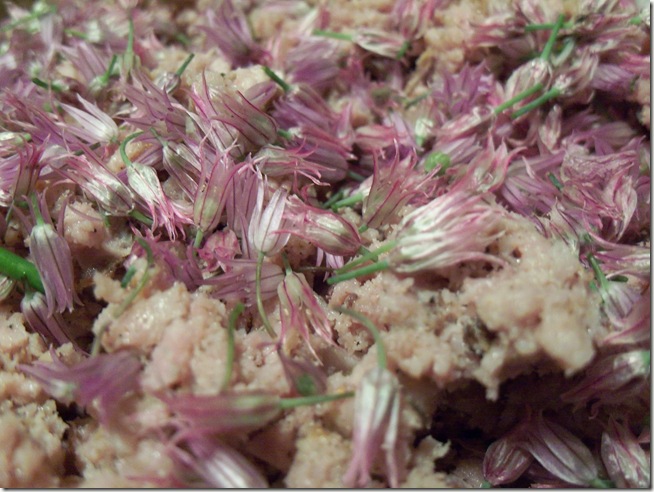
 I chopped up about 8 chive blossoms and threw those in there too.
 Another great time saver are these bottled sauces. Now, I have never used them as they are in the bottle. They are just a good quick sauce base to start with. This one is a 4 cheese rosa sauce. Love it! I had 8 coupons for these and was able to get them at .78 cents a jar to have on hand. What I normally use as my sauce base is a simple white sauce that I make ahead of time. You can get that recipe HERE.
 Pour the entire jar in the skillet with the meat. Add a cup of milk into the emptied jar to get out all the last bit of the sauce, shake and pour into mix. Add about 1/4 cup of grated parmesan (optional). Bring to a boil (stir often).
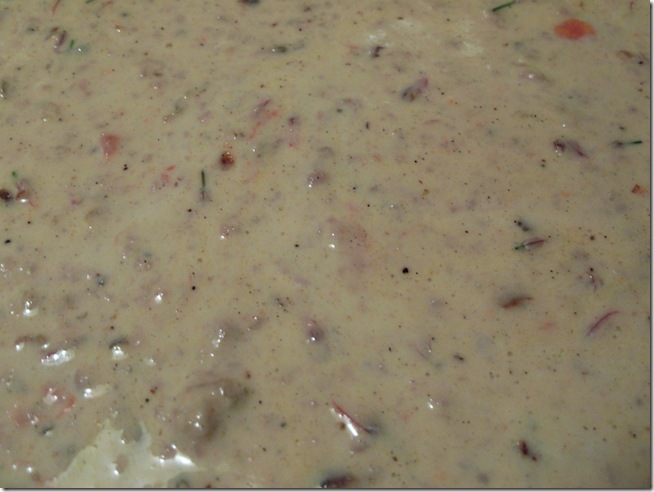 Now pour sauce over stuffed noodles.
 Add the baked tomatoes. Do NOT throw out that yummy oil!

 Now, just because I think this kind of dish is better with melted cheese (isn’t everything!), I added white cheddar on top. You could use whatever you have. Cover with foil and put in 350 degree oven. Bake for 10 minutes. Remove foil and back in the oven and bake for another 10 minutes.
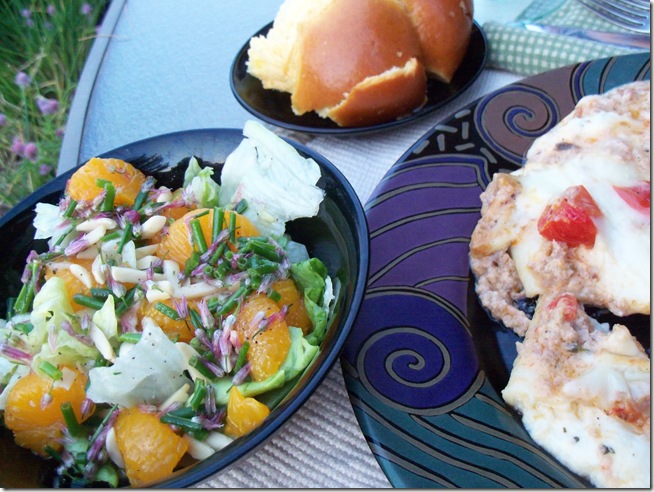
 Okay, while are meal is cooking, let’s make the salad and dressing. When I have a rich dish like the one above I want a simple salad to go with it and I think citrus is the perfect compliment to a rich cheesy dish. So, our salad is going to be lettuce, mandarin orange and almond slices.
Time to make the dressing. Grab that empty sauce jar and rinse. Yup, I don’t believe in messing up any unnecessary dishes whenever possible!
Add 1/4 cup of olive oil
1/2 cup apple cider vinegar
The mandarin juice (for a 15 oz can)
Healthy dash of S & P
About a 1/4 teaspoon of garlic powder
Chopped chive blossoms and chopped chives.
 Important tip regarding chives. If you have left your chives to blossom, clip off your blossoms and then just cut the chives down. You can dry out these chives but, they are too tough to eat at this point. I kind of rotate my chives so that I always have part of them tender to use and some left to blossom so I can use the flower.
 Take all your chopped blossoms and chives and toss them into the tomato oil left from roasting the tomatoes. Stir and try to get every bit of that yummy flavor out of the dish.
 Put of the goodness into your jar of dressing an shake well.
 What’s nice with reusing this jar, the leftover dressing is already in a jar and can go in the fridge.
Let’s get our salad dressed.
 YUM!
YUM!
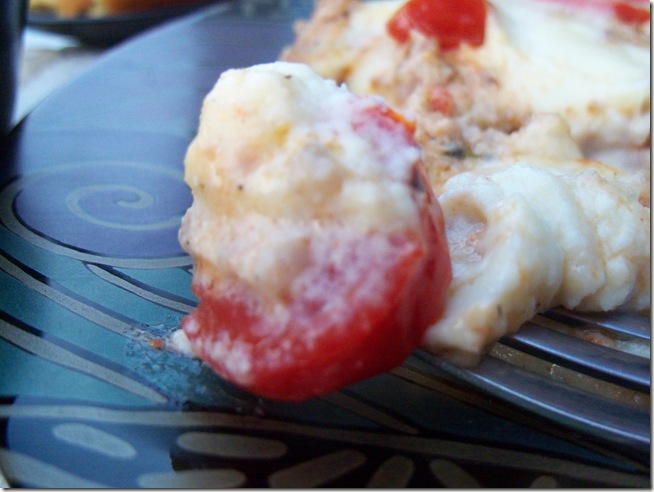
Okay, it’s time to get our dish out of the oven. Make sure to let this rest for about 10 – 15 minutes before serving.
 And that is it. Enjoy!


The chive flowers looks so pretty in the salad and are so tasty.



 Thank you for stopping by. I hope you enjoyed these chive blossom dishes and now have an idea how to use them in your meals. I will be posting more chive blossom dishes throughout the summer.
Have a great day!