Friday, July 15, 2011
Hi everyone!
Oh, I have a treat for you today! Emily at The French Hutch is our featured guest "Chef" today! Emily has created not one but a couple of mouth watering recipes to share with us. Thank you Emily for such wonderful recipes and drool worthy photos!
 Click the above picture of Emily’s beautiful French Hutch to go to her blog!
My post this week will be the Weekly Featured Recipe at DTL Herbs. Please join Diann from The Thrifty Groove and me at her herb blog sharing great recipes using fresh herbs.
Thank You Diann, I am honored to have my recipe featured at DTL Herbs.
please click here to join Diann at her new blog

BRUSCHETTA

Summer months you will always find in my kitchen fresh herbs from my little herb garden and home grown tomatoes from family or friends. My sweet dad always had these growing in a garden in our back yard so its from these fond memories I love and enjoy preparing any recipe using tomatoes. When my sources run out for suppling me with what I feel is a summer staple, I head to the huge farmers market in Birmingham. I know I'll always find tomatoes and most any herb I need there.
I think I started to go apes over bruschetta after my first trip to Roma. We have a favorite restaurant where Jim and I always enjoy dining, I always order the bruschetta as an appetizer, from orders by the waiters who always remember us and tell us what to eat, oh those Italians! In Roma, the bruschetta is different than what we found in Florence and the Tuscan hill towns. Roma offers up its version with chopped tomatoes, basil and thicker bread for the oil and vinegar to soak into, where the Tuscan version uses thiner slices of bread and is more of a finger food. Roma serves bruschetta like a salad and you need your fork and knife. I love both, but it can get a little messy eating as finger food. I like serving it as a first course replacing the salad. Either way, its a summer favorite, a staple you'll find on my menu while the tomatoes are garden fresh and herbs are out of my back yard garden. Ah, the wonderful bounty of summer.
WHAT YOU'LL NEED
~
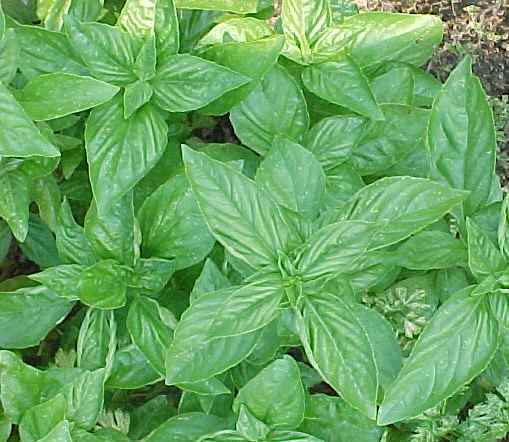
FRESH CHOPPED BASIL
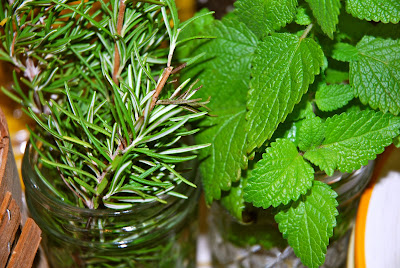
FRESH CHOPPED ROSEMARY
CLOVE OF GARLIC / OR SWEET ONION
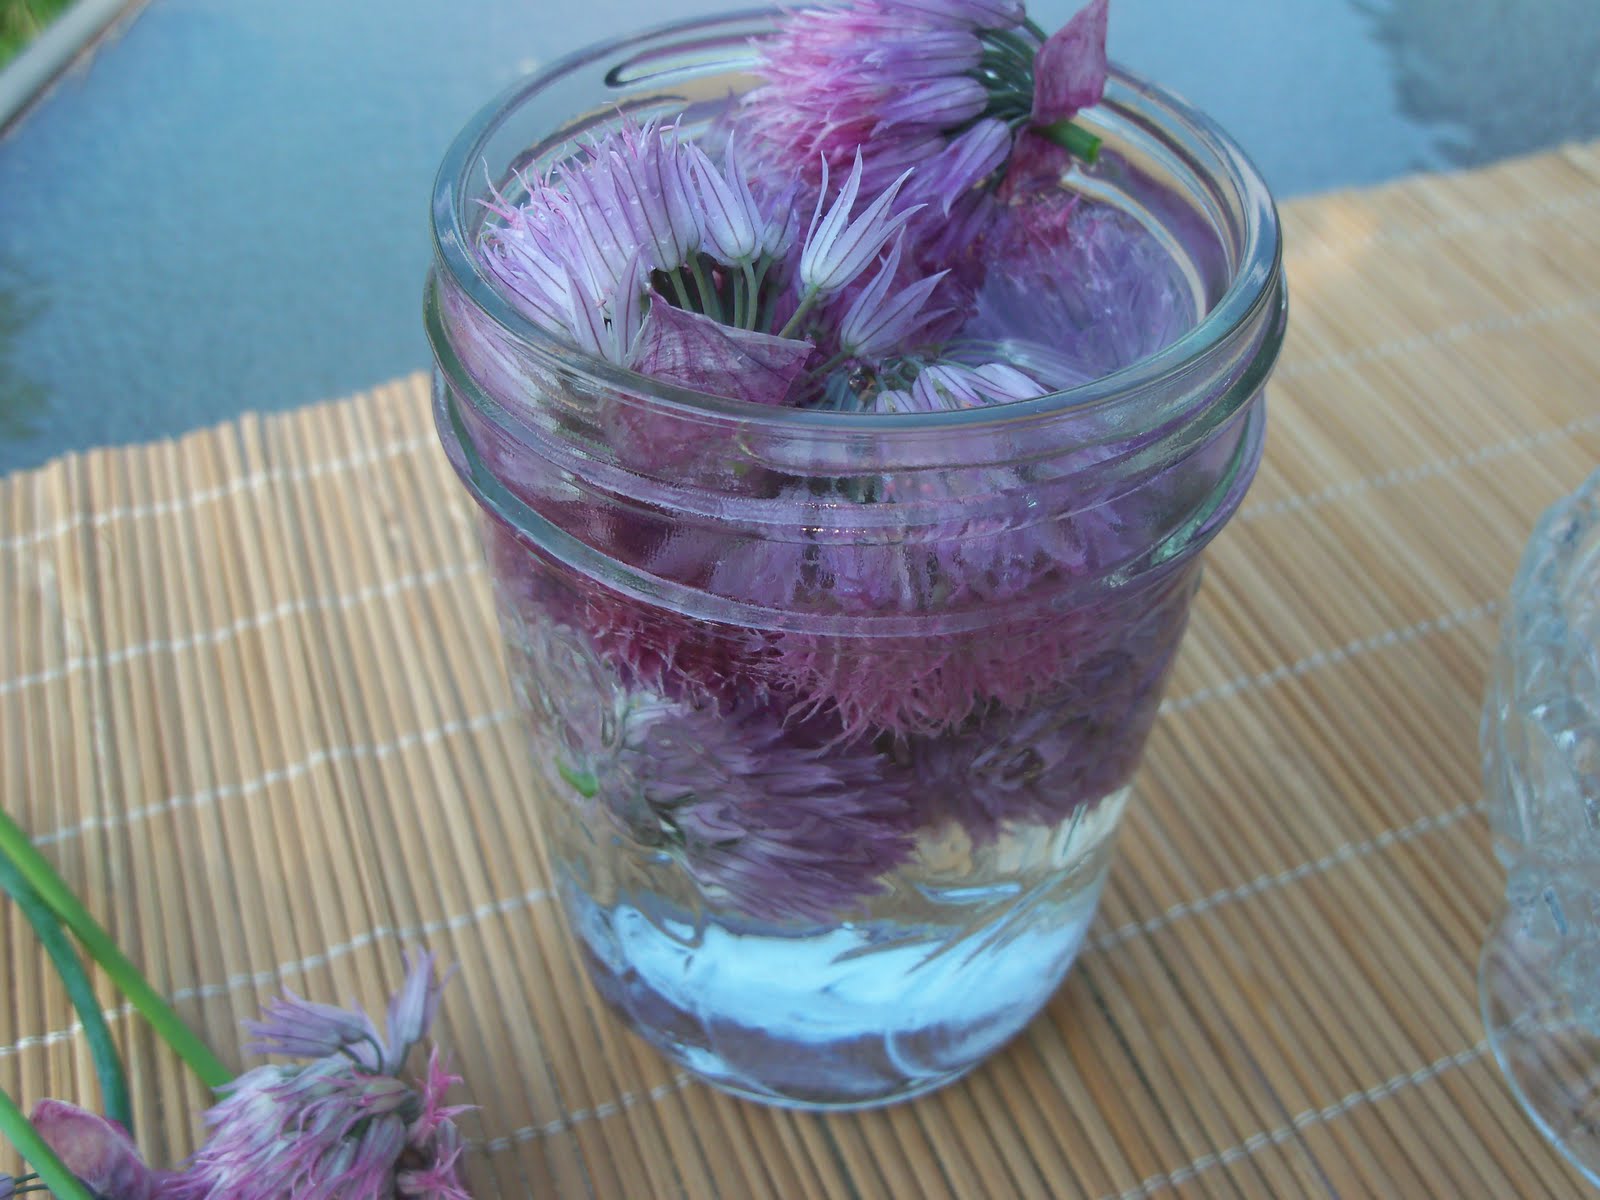
YOUR FAVORITE FRESH OR DRIED HERB
FRESH CHOPPED AND/OR SLICED TOMATOES
FAVORITE OIL AND VINEGAR
FRESH GROUND SEA SALT AND PEPPER
YOUR FAVORITE BAGUETTE BAKERY BREAD
~
BEAUTIFUL GARDEN FRESH HERBS
DRIED IF FRESH IS NOT IN SEASON

DRIED BRUSCHETTA HERBS
PURCHASED IN POSITANO


BLUE BASIL
BLUE CENTER

HOME GROWN TOMATOES


GRILL OR TOAST BREAD


A PRETTY FRENCH ROOSTER PLATE

RUB BREAD WITH GARLIC OR ONION

ADD HERBS TO TOMATOES
~
CHOPPED FOR ROMA BRUSCHETTA

SLICED FOR RUSTIC
TUSCAN BRUSCHETTA

TOP BREAD WITH TOMATOES AND HERBS

POUR OIL OVER TOMATOES
AND ONTO PLATE AROUND BREAD
ADD VINEGAR


ENJOY YOUR FAVORITE BRUSCHETTA
DELICIOUS
POSTCARDS FROM ROMA

GEORGIE, JIM, EMILY AND MOUNIR

BRUSCHETTA AT TUDINI'S IN ROMA
THE REAL DEAL

LEMONCELLO
AFTER DINNER DRINKS


TOMATO, FRESH MOZZARELLA AND BASIL SALAD
JUST ADD YOUR FAVORITE OIL, VINEGAR AND HERBS


Really there is no right or wrong way to make bruschetta. I love the two ways presented here, the way I first tried it in Roma. It just doesn't get any better.........CIAO!